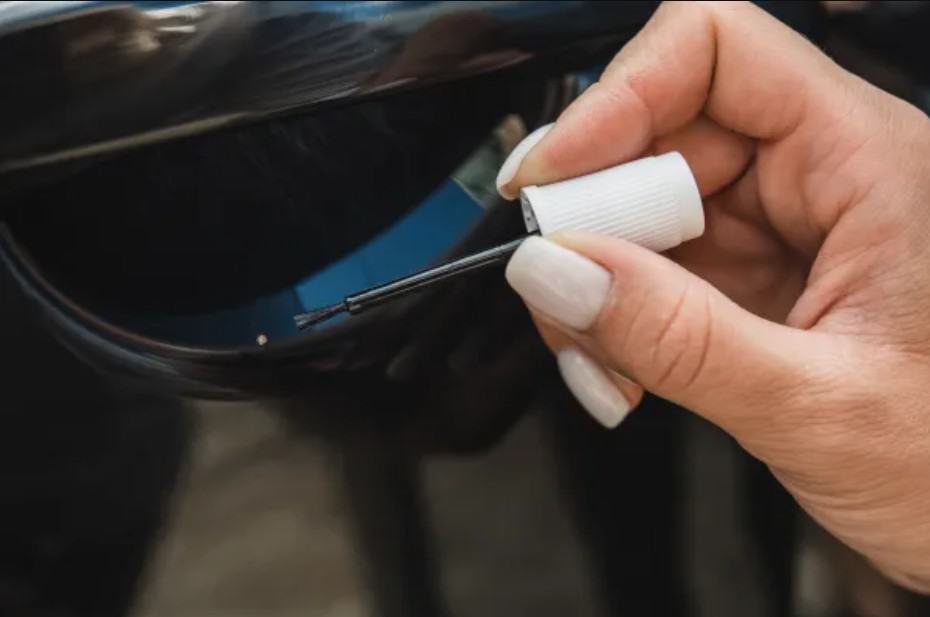
A fresh stone chip on your bonnet looks like a cosmetic problem. It is really a rust problem waiting to happen. The moment a chip breaks through to bare metal, that tiny spot begins to corrode, and corrosion creeps outward under the surrounding paint. Sealing it quickly is the single most valuable thing a DIY touch-up does — get that right and you have handled the important 80% of the job, long before you start worrying about making the repair invisible. Here is how to touch up car paint properly, with honest expectations about what you can and cannot achieve at home.
What a DIY touch-up can realistically do
A home touch-up has two genuine jobs: it protects, and it improves. On a small stone chip or a light scratch, a careful touch-up seals the exposed surface so moisture cannot reach bare metal, and it makes the mark far less obvious from a normal viewing distance. Both are well worth having, and both are within reach of a patient afternoon.
What it will not usually do is make the damage vanish completely. Getting a repair truly invisible means matching the colour exactly, blending it into the paint around it, and levelling the surface so no edge catches the light. On metallic and pearl finishes especially, that blending is genuinely difficult — it is the part professionals spend years mastering. Treat a DIY touch-up as protection first and cosmetics second, and the result will not disappoint you.
For a single chip or a couple of small scratches, doing it yourself saves both time and money, and it is a sensible weekend job. If the damage is more widespread — a scraped panel, a run of deep scratches, several chips across a bonnet — then professional car body repair in Greenwich will give a better return on the effort. For the small stuff, though, read on.
Find your exact colour — start with the paint code
The most common reason a touch-up ends up looking worse than the damage is a colour that does not match. Matching by eye almost never works: ‘red’ or ‘silver’ covers dozens of subtly different factory shades, and the human eye is easily fooled. Your car, however, has one exact colour — and that colour has a code.
You will usually find the paint code on a plate or sticker in the engine bay, inside the driver’s door shut, under the boot floor, or recorded in the service book. It is typically a short letter-and-number code, sometimes labelled ‘colour’, ‘paint’ or ‘C’. Note it down and match your touch-up paint to that code rather than to a colour name. On metallic and pearl finishes the code matters even more, because the flake and tint have to match as well as the base shade.
How to touch up car paint, step by step
Once you have your colour code and the right paint, the method itself is straightforward. The golden rule is thin layers and patience — flooding a chip with paint is the fastest way to make it look worse than it started. Work somewhere dry and shaded, on a cool panel, and give yourself time between coats.
- Clean and degrease the chip, then let it dry. Wash the area, then wipe it with a little degreaser or panel wipe to lift off wax, polish and grime. Any contamination left behind stops the new paint from bonding. Let the spot dry completely before you go any further.
- Remove any loose paint or surface rust. Gently lift away flaking paint or light surface rust from inside the chip — the tip of a cocktail stick or a fine abrasive works well. The area needs to be sound and clean, because painting over loose flakes or active rust simply seals the problem in.
- Prime bare metal if it is exposed. If the chip has gone down to bare metal, dab on a thin coat of primer first and let it cure. Primer gives the colour something to grip and adds a barrier against corrosion. Keep it inside the chip — you do not need it on the surrounding paint.
- Match the colour by code, then stir and prepare the paint. Confirm your touch-up paint matches your car’s paint code, then stir or shake it thoroughly so the colour and any metallic flake are evenly mixed. Well-mixed paint is what gives you a fighting chance of a close match.
- Apply in thin layers with a fine brush or pen. Apply the colour in thin, light layers with a fine brush or touch-up pen — build it up rather than flooding it on, and let each layer dry before adding the next. Several thin coats level far better and dry far harder than one thick blob, which stays proud and gummy.
- Add clear coat if needed, then let it fully cure. Once the colour sits level with the surrounding paint, add a thin layer of clear coat (lacquer) if your paint system uses one — it seals the repair and restores the gloss. Then leave it to cure properly. This can take days rather than minutes, and rushing the curing is where most home repairs go wrong.
- Gently polish to blend the edge. After the repair has fully cured, a light polish softens the edge where the new paint meets the old and lifts the shine to match. Work gently and stop early — this step blends, it does not correct, and over-polishing a fresh repair only drags the new paint back out.
Common mistakes to avoid (and the WD-40 myth)
Most touch-up disappointments come down to a handful of avoidable mistakes. The big one is using too much paint: a chip filled flush, or even slightly under, looks far better than one heaped with a glossy dome that catches every eye. Skipping primer on bare metal is another — the colour will not hold and rust creeps straight back. And rushing the curing, then polishing a repair that has not hardened, drags the soft paint out of the chip you just filled.
Know your limits, too. A DIY touch-up is for small chips and light scratches — not for a deep gouge, a widely scraped area, or a colour-critical metallic panel. Brushing paint over damage that size almost always looks worse than leaving it, because the eye is drawn straight to the mismatch and the ridge of built-up paint.
One myth is worth killing off. WD-40 does not repair scratches. Sprayed over a scuff, it fills the surface with an oily film that hides the mark for an hour or two, so it can look fixed in the moment — but it wipes and washes straight off, taking the illusion with it, and it does nothing to seal or protect the paint underneath. It is a temporary cosmetic trick, not a repair, and it leaves bare metal just as exposed as before.
When a touch-up is a job for a professional
A home touch-up is the right call for small chips and light scratches. Past that, it becomes a job for a bodyshop. Damage worth handing over includes deep scratches that have cut through to metal across a wide area, dents sitting behind the paint damage, colour-critical metallic and pearl finishes where the blend has to be perfect, and any repair you genuinely want to be invisible rather than merely sealed.
This is where the gap between protecting a chip and erasing it really shows. A workshop can colour-match precisely to your paint code, spray and blend into the surrounding panel, and bake the finish so the repair disappears into the original paint — which is exactly what professional paint & scratch repair in Greenwich is for when the damage is beyond a brush and a steady hand. If you are unsure whether yours is a DIY job or a workshop one, lean towards getting it looked at early — before a small chip has quietly turned into a rusted one.
Car paint touch-up FAQs
Can you touch up paint on your car yourself?
Yes — for small stone chips and light scratches, a DIY touch-up is a realistic home job. Clean and degrease the chip, prime any bare metal, match the paint to your car’s colour code, and build it up in thin layers before letting it cure. The results are protective and tidy rather than invisible, but for small damage that is exactly what you need. Deep, wide or colour-critical damage is where it stops being a DIY job — that is where a professional stone chip repair comes in.
Is it worth touching up car paint?
For small chips, yes — mainly because of what it prevents. A chip that reaches bare metal will start to rust and spread if it is left open, and a quick touch-up seals it before that begins. It also makes the mark far less noticeable. So even though a home repair rarely looks flawless up close, sealing the paint is well worth the afternoon it takes.
Does WD-40 remove scratches from a car?
No. WD-40 only masks a scratch temporarily — its oily film fills the mark so it looks better for a short while, but it wipes and washes off within hours and repairs nothing. It does not seal the paint or protect exposed metal, so a scratch that has reached bare steel is left just as vulnerable to rust. Use a proper touch-up paint if you actually want to protect the panel.
What mistakes should I avoid when touching up paint?
The main ones are using too much paint (build it up in thin layers instead of flooding the chip), skipping primer on bare metal so the colour will not hold, rushing the curing and polishing before the paint has hardened, matching the colour by eye rather than by paint code, and trying to brush out damage that is really too deep or too wide for a touch-up. Patience and thin coats fix most of these.
How much does car touch up paint cost?
Colour-matched touch-up paint in a pen or small bottle is one of the more affordable DIY products, which is part of the appeal for small jobs — the paint itself is rarely the expensive part. Prices vary by brand and finish, so check the specific product for your colour code. A professional repair costs more because it includes exact colour-matching, blending into the panel and a baked finish, which is what buys you a genuinely invisible result.